Tag Archives: Design

Attention All Followers!

1 Aug

To all of you fabulous recent followers: If you want to see more fantastic party inspirations like the one below, please go on over to domeafavorblog.com and subscribe to me via email! Nuts & Bolts will no longer be posting and If you want to stay up to date with all my DIY decor and other projects, please subscribe. While you’re there, don’t forget to check out all the other ways to follow me via my Twitter, Instagram, Pinterest, Bloglovin and my Facebook Page!  Thank you for your continued support!

invitation instagram

XOXO,

Lindsey

Sorry For Any Confusion!

11 Jul

My lovely followers,

I know a few of you expressed concern over not being able to follow my new blog, Do Me A Favor. Unfortunately, since I moved to WordPress.org you will no be able to follow my blog in the same manner you used to. However, the wonderful people at WordPress will be transferring those of you that subscribe to my blog via email to my new site! This means, that my email subscribers will continue to receive email notifications of new posts as they did before, but my WordPress.com followers will only see new posts in their Reader. If you would like (and I would love) you can subscribe to my new blog via email so you can be in the loop on all my new posts.

In addition to subscribing, I strongly encourage you to like my Facebook page as that will also have up to date information. Thank you for your support so we can both continue to follow and inspire one another!

Thank you!


Changes!

11 Jul

I know I’ve been a little behind in my posts this past week, but for good reason! I just wrapped up my first fully planned wedding in Upstate New York this past week. In addition to the wedding, I also (with the help of my amazingly talented friend Steph Devino) finished my new blog!

Now, if you’d like to see some photos from the wedding you’re going to have to click on my new blog below. While you’re checking out the new layout please follow my new site because in one week Nuts & Bolts will be no more. Have no fear, I will be bringing you the same great posts under the new name Do Me A Favor!

Screen Shot 2013-07-10 at 4.47.51 PM

I encourage your to follow me on Pinterest, Twitter, Instagram and like my Facebook page for up-to-date information on all my current posts and events. Thank you for all of your support and comments that made this new blog possible. I hope that you’ll continue to follow me on this new journey!

21 Jun

Earlier this week I debuted my repurposed shabby chic tablescape utilizing items from around my apartment. Turning picture frames into unique centerpieces may look simple, but there’s more to it than you think. Here are some tips and steps to follow in order to create a tablescape that is truly eye-catching.

IMG_6241

1. Depending on the size and length of your table, begin with an odd number of frames. I had a small circular table so three frames fit perfectly.

2. Variety is important so play with size, shape and color.

3. You want your frames to look mismatched, but coordinated at the same time so try to establish one main color. I went with gold.

4. Add some texture to your frames by framing some fabric. Not only will this add a color to your tablescape, but if you’re using a solid colored tablecloth like I did, the fabric helps to incorporate a pattern.

IMG_6257IMG_62715. In order to create a three-dimensional look, layer your frames on top of one another.

6. Add any votives, candle holders or vases to complete your look.

IMG_6278IMG_6292 By using picture frames that you already own, not only are you saving money  but you’re creating a custom centerpiece that is unique to you and your personal style. repurposed-shabby-chic-table

18 Jun

Recently I’ve been inspired not by a fabulous vase seen in a magazine, but rather by items I already have in my home. I own so many beautiful things, why not put them to good use? This tablescape in particular is definitely one of my favorites. I used three frames from my gallery wall as the centerpiece of this repurposed shabby chic inspired table.

Repurposed shabby chic tableThe largest frame acts as an anchor for the smaller gold ones. By framing a pink scarf I’m able to bring in a pop of color on my ivory canvas. Tall clear glass candleholders add height and ambience while mismatched plates set the shabby chic tone.

Frame tablescape 1I utilized my large bracelet collection by using them as unique napkin rings. I was able to bring in some turquoise with the bracelets to play off those quintessential pink and turquoise shabby chic colors.

Frame Tablescape 2

I cannot wait to use this idea for a large-scale event someday. By reusing three picture frames, an old scarf and some sparkly bracelets I was able to transform some old products into something new.

Votive Inspired

6 Jun

With all the events and weddings that come with the Summer season, I’ve been thinking a lot about votives. The simple clear glass votives used at most events are just fine, but in my opinion, not dressing up your votives is a missed opportunity. These small vessels of light not only provide your table with ambience, but can be a great way to add something  unique to your tablescape. Here are some votives that inspire me. Screen Shot 2013-06-05 at 10.13.54 PM{Etsy Birch Votives}

DIYCandles5 {Sugar & Charm’s DIY Terracotta Votives}

Screen Shot 2013-06-05 at 10.13.17 PM {The Olive Tree’s Pink Neon Votives}

concrete-votives1 {Monsterscirus DIY Concrete Votives}

Screen Shot 2013-06-05 at 10.13.41 PM{BHLDN’s Strawberry Nectar Votives}

Salon Galley Wall

9 Apr

IMG_4616A year ago I decided to jazz up my New York apartment by creating a salon gallery wall of my own. Now, just over one year later, I’m giving my favorite wall a bit of an update. Although I’m lucky to have more light in my apartment than the typical New Yorker, my living room is still darker than most homes. In an effort to brighten up my living room I’ve been working  hard to incorporate more light neutrals and less dark patterns into my design. With a little primer and an ivory colored spray paint I transformed my frames and brightened up my living room.

IMG_4623In case you missed it last time, here are some tips for creating your own gallery wall:

*Color Scheme: I suggest sticking with an overall color scheme. Although I did add in some color, I decided to work mainly with ivory and gold frames. This gives your wall a sense of cohesiveness. You want everything to look like it belongs. I also love the way the ivory color pops against my grey walls. My ivory inspiration came from my coconut mirror, which you can see here.

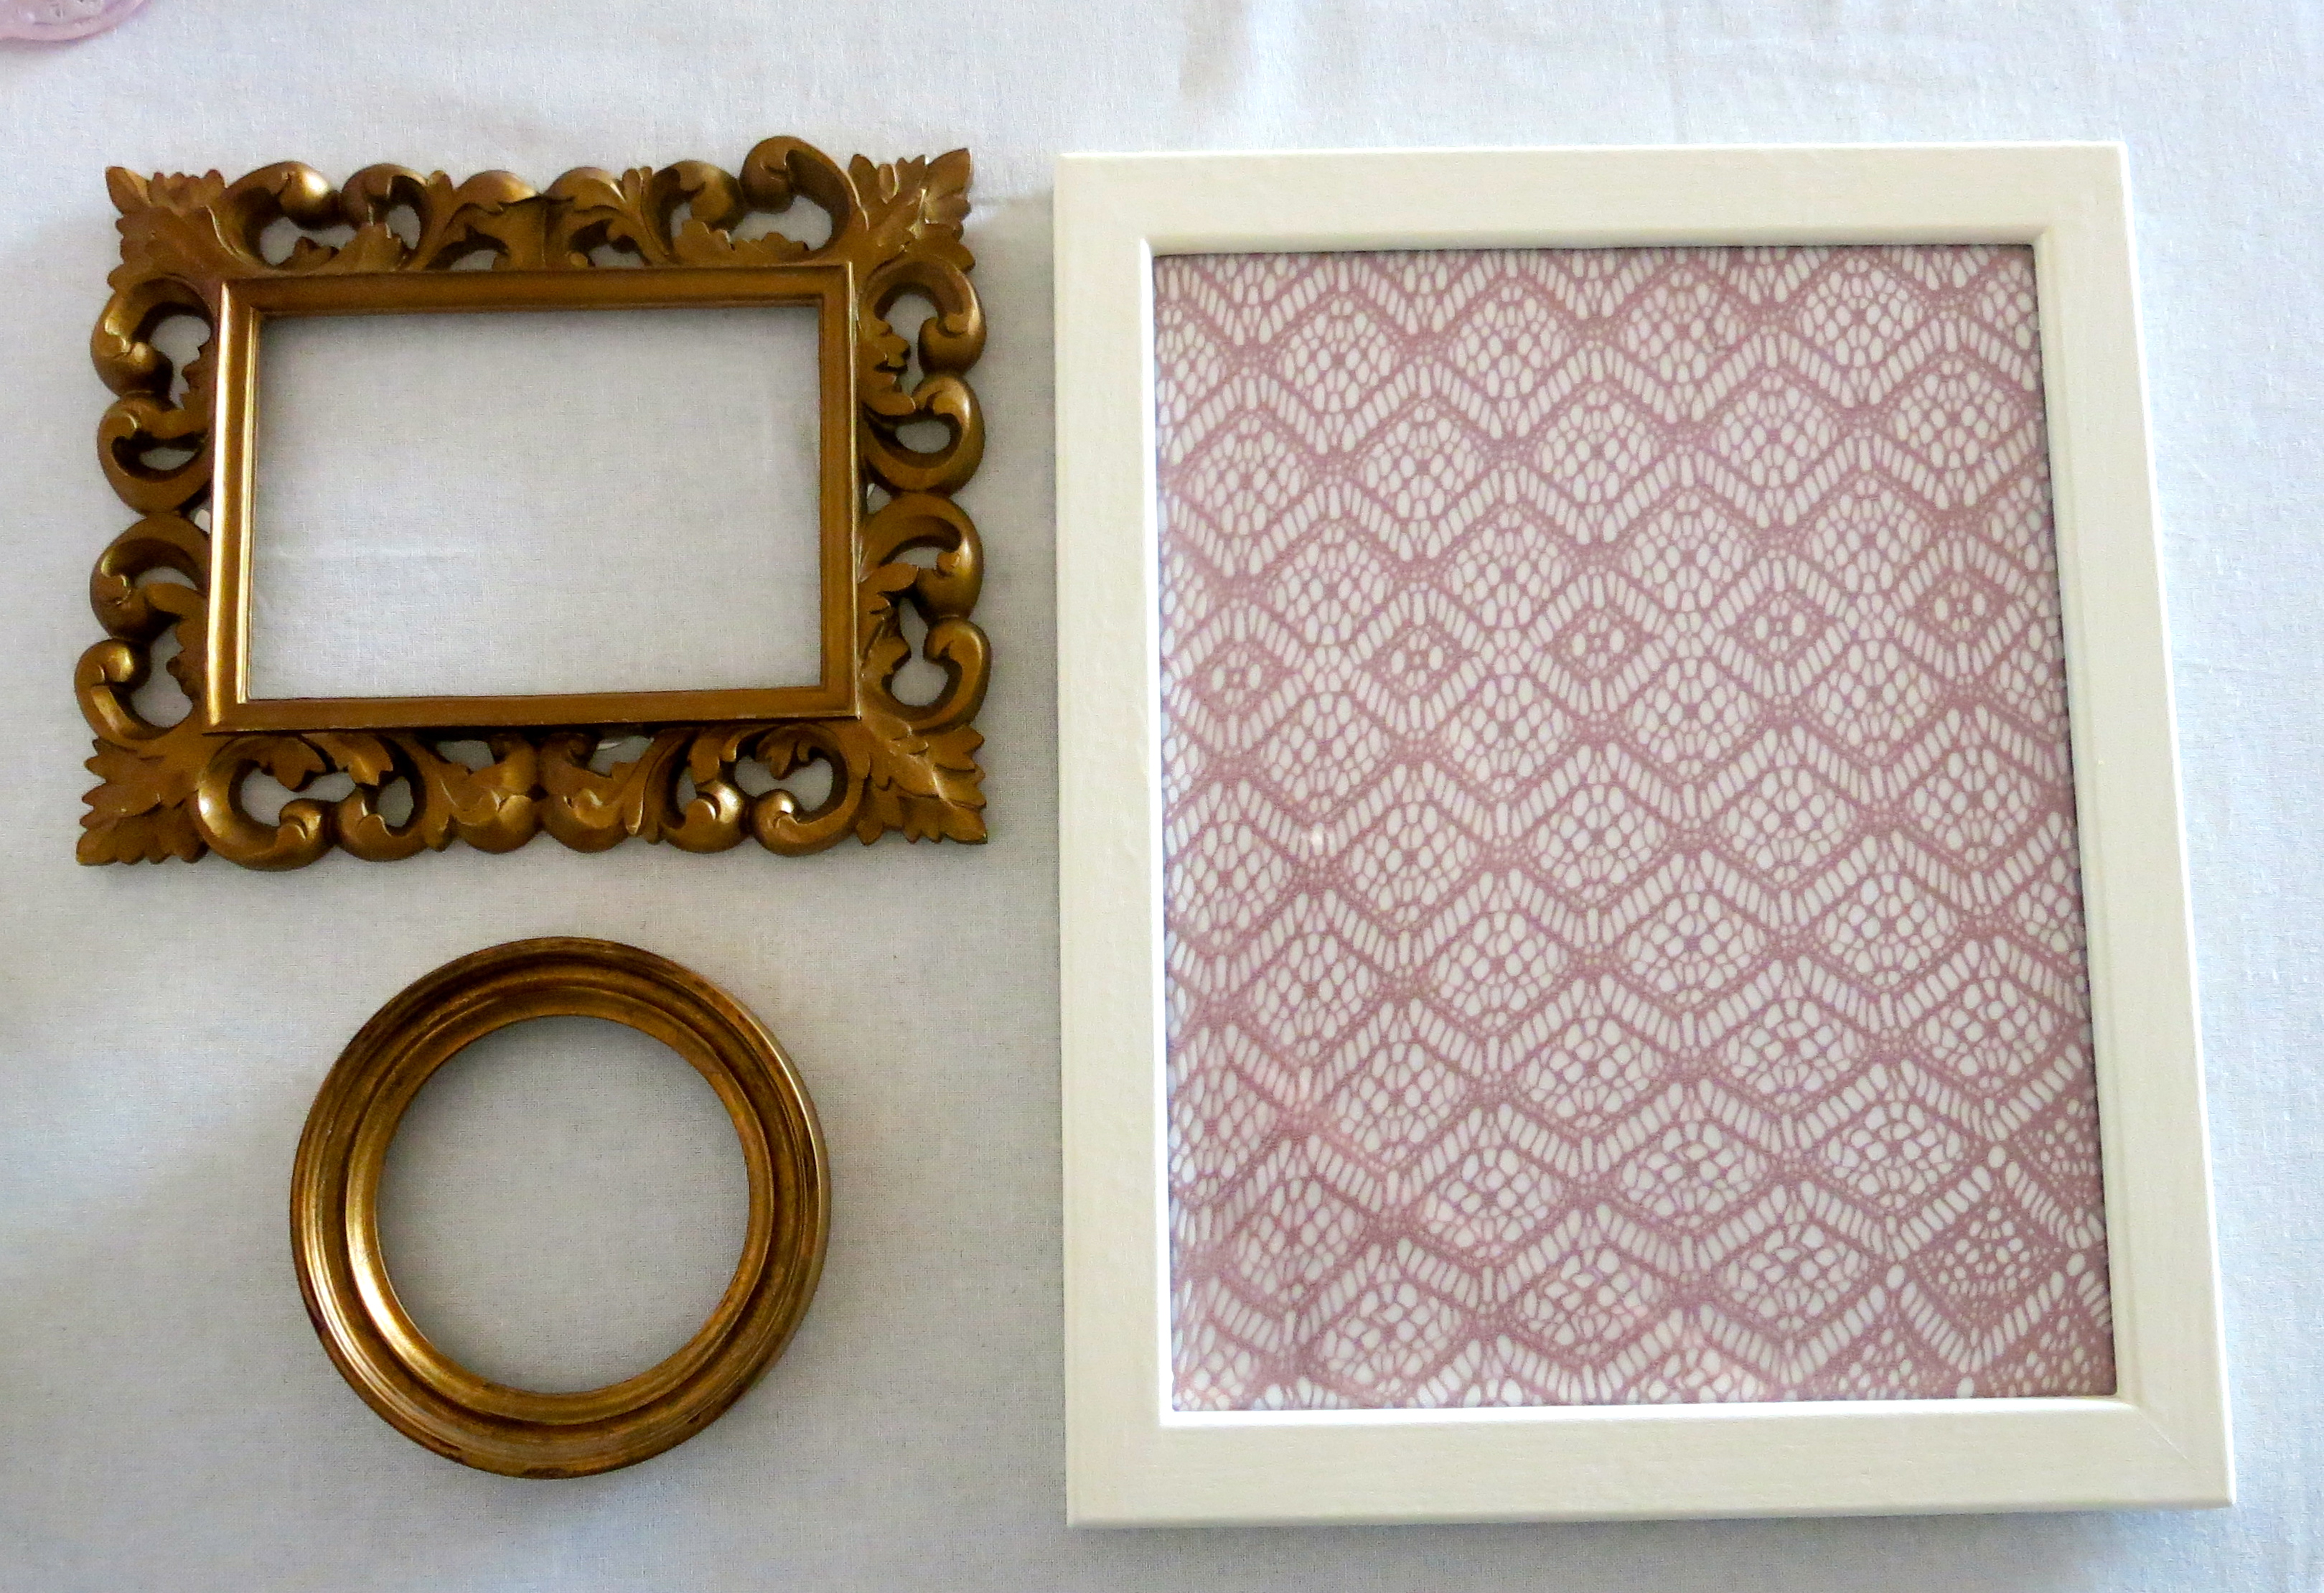
*Don’t be afraid to play! Play with textures, shape, and color. Don’t stick with just a plain flat frame. Throw in a bold cut-out or even a circular frame to mix things up. Also, don’t forget about your lines! Be sure to play with vertical and horizontal frames.

*Add something other than art:  I went with a wall clock, but a small shelf display would work just as well.IMG_4619*Etsy is your best friend: I was able to find some great prints on this amazing website, including my Button U.S.A map and King Pug Newsprint.

*Get Resourceful: If you dont have the money or the resources to buy art, frame some printed paper or a design you like from a magazine. I ended up framing a wallpaper sample I had lying around (which you can see in the horizontal gold frame above).IMG_4627*Although you want your wall to appear to be thrown together, you still want to maintain a level “organized chaos”. In order to do this, lay all of your wall hangings on the floor before nailing anything down. Move things around until you find an arrangement that is truly eye-catching.

The beauty of the Salon Gallery Wall is that you can keep adding to it over time. As I continue to make memories in this city, I can continue to add to my wall.

Will You Be My Valentine?

12 Feb

This year my goal was to DIY my own valentines without spending any extra money. Using some scarp book paper, wooden skewers, twine and paint samples I was able to channel my inner child and create a handful of homemade Valentines. I consider my goal achieved.
Valentine's Day CardsIMG_3866IMG_3872IMG_3874

25 Jan

This Friday I’d like to feature some to-die-for design coming to you all the way from New Hampshire. My mother bought this gorgeous French Country bench from Wisteria this past Fall. Yes, she has great taste.

Screen Shot 2013-01-25 at 12.07.30 AMAs amazing as it is on its own, this bench was in need of some serious styling. For Christmas my sister and I decided to accessorize this bench and make the entryway in our parent’s home more than just an place to throw your coat.

We started with a chic gold garden stool, also from Wisteria. We thought the bright gold modern look would be a great contrast against the dark wood of this french country bench.

W2843For pillows we went with my go-to color scheme of mustard & navy:

D06-TL1_1Although no longer being sold, the large blue printed pillow we decided on from Serena & Lily is similar to one above.

s503819

We also fell in love with a velour cayenne pillow from Crate & Barrel. Although that pillow is also currently out of stock, this Aubree Boucle pillow is very similar. 

For our final pillow, I wanted to add something quirky and fun. When I found this deer pillow on Etsy I knew it was perfect. Not only is it different, but the linen and black sketch coordinate perfectly with our French Country bench.il_fullxfull.392696411_ajqb

The end result looked a little something like this:

IMG_3145Not only do all the colors compliment one another, but we played with texture through the different fabric pillows. I’m afraid I cannot take credit for the adorable small bowed pillow because that genius idea came from my mother.IMG_3141 I think my sister and I successfuly updated this bench through incorporating  our personalities while still maintaining the taste of my parents. I’ve made my mom promise me that one day I’ll be the owner of this breathtaking bench. I can’t wait for it to grace the hall of my future home, but in the meantime I think it looks pretty darn good right where it is.

Apt. Facelift

16 Jan

I’ve only been living in my apartment for a year and a half and already I’m  getting that the urge to redecorate. It starts small…a new rug here and a new lamp there, but then your itch for a new design scheme grows. Before you know it you’re repainting and refurnishing. Being a mere twenty-six years old and living in Manhattan, I most certainly cannot afford to redo my apartment. However, I’ve decided on a few main pieces that I will SLOWLY purchase in order to give my place the facelift it needs.

Tempaper:

damsel-metallic-silver-tempaper-wallpaperAfter draping wrapping paper along the walls of my dining room nook for my New Year’s Eve party I realized how great it would look if there was wallpaper up year round. I’m not sure if I’d necessarily pick this exact print, but tempaper is an ideal way to transform any rented space without the expenses and hassle of real wallpaper.

Ghost Chair:

KTL1010_aI’ve had my heart set on this ghost chair way before they were in style. I think this chair would go perfectly with my new white West Elm Parsons desk that I recently purchased. Pairing it with my white sheepskin rug for comfort will make for the perfect match!

Bar Cart:

the-art-of-the-bar-cartI’ve been looking for something to place to the right of my television set for a while now. I want something  that will not only cover my outlet and power cords, but something that is functional. Seeing as I have an obsession with gold and cocktails, I think this bar cart and I are a match made in heaven.

Gold Pig Bookends:

gold-pig-bookends-set-of-2I dare someone to give me one reason why I don’t need this. It is amazing, enough said.

Chandelier:

2011_08_01_archiveI’ve been waiting my entire life to be the owner of a gorgeous chandelier. I may not be able to afford one of this grandeur right now,  but I will scourer thrift stores and local Housing Works until I find one I can refurbish and proudly hang above my kitchen table.