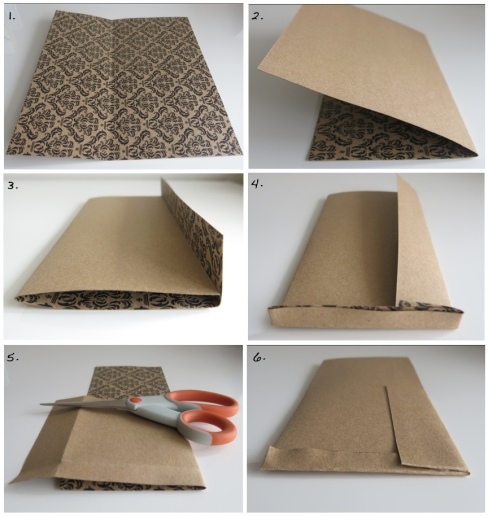
1. Begin with an 8 1/2 by 8 1/2 inch piece of card stock.
2. Measure 5 inches from the right side and fold over.
3. Fold the access card stock over the bottom layer and make a crease. Fold the bottom end up about 1/2 inch and make a crease.
4. Measure 4 inches from the bottom of your bag and draw a line. Cut off everything from the 4 inch line up so you have a place for your silverware to peak out.
5. Use hot glue (or a stapler) so your folds stay put.
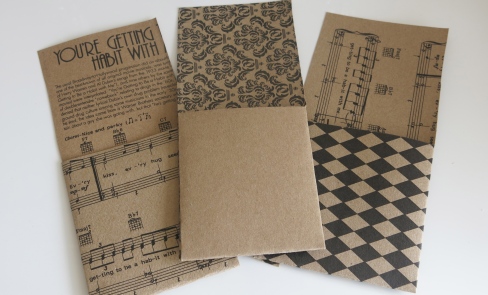
I used Martha Stewart stencils to monogram and personalize my silverware bags. Even though my card stock had some great prints on one side, I used some old sheet music to copy one of my favorite songs on the other.
 Please note that I measured my bag for plastic silverware and the measurements might be slightly different for real silverware.
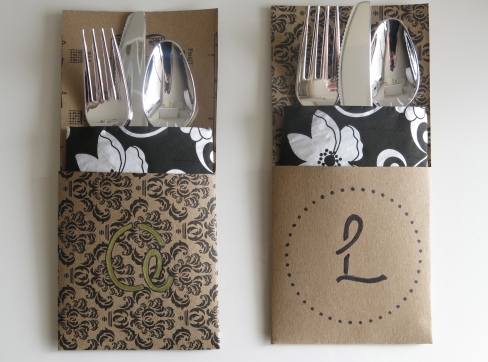
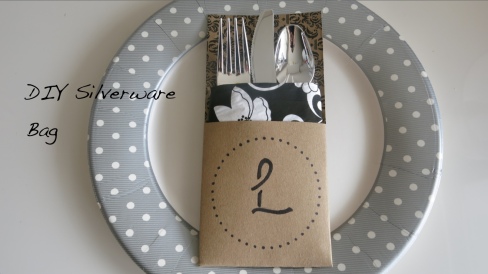
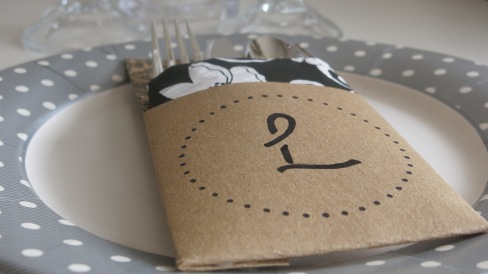

These are so cool and would be perfect for a summer grill-out or picnic!
Reblogged this on Living like an Erythrocyte and commented:
You could use just plain white paper, or even looseleaf, that you’ve let your kids stamp and colour all over.